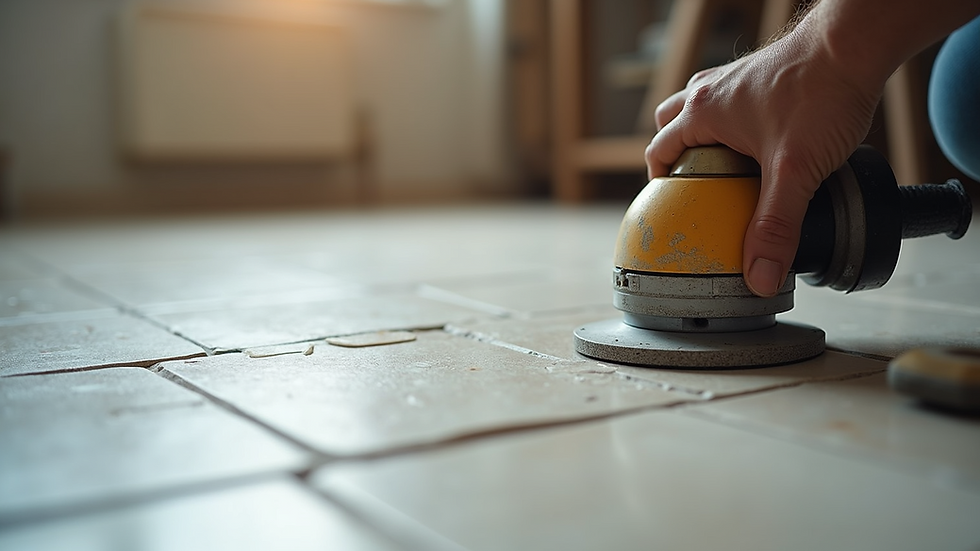
Expert Tips for Floor Tile Installation
- Independent tile llc
- Oct 29, 2025
- 4 min read
Installing floor tile can transform any space. It adds durability, style, and value. Here are some practical tips to help you achieve a professional look. Whether you are updating a kitchen, bathroom, or commercial space, these guidelines make the process straightforward and manageable.
Essential Floor Tile Installation Tips
Start with a clean, level surface. Uneven floors cause tiles to crack or loosen. Use a leveling compound if needed. Measure the area carefully. Plan your layout to minimize cuts and avoid small slivers of tile at edges, every floor is different and will require different starting points could make or break a good installation.
Choose the right tile for your space. Porcelain and ceramic are popular for durability and water resistance.
Great for bathrooms and commercial spaces.
Natural stone offers a unique look but requires sealing and maintenances over time.
Use quality materials. Select a thin-set mortar suitable for your tile type and subfloor. Avoid quick-dry mortars unless you have experience. Use proper spacers to keep grout lines even. Consistency in spacing improves the final appearance.
Prepare tools before starting. You will need a notched trowel, tile cutter or wet saw, rubber mallet, level, spacers, and grout float and other specialized tools. Having everything ready saves time and reduces frustration.

How to Tile a Floor for Beginners Step by Step?
Prepare the Surface ( Demolition and prep)
Remove old flooring and debris. Repair cracks or holes. Ensure the floor is dry and clean.
Plan Your Layout
Find the center of the room. Snap chalk lines to create a grid. Dry lay tiles along these lines to check fit and pattern. Dry setting a floor first can help reduce big mistakes in lay out.
Mix and Apply Mortar
Follow manufacturer instructions. Spread mortar with a notched trowel, working in small sections to prevent drying out. keep your area and tools as clean as possible when working.
Set the Tiles
Press tiles firmly into mortar. Use spacers to maintain consistent gaps. Tap tiles gently with a rubber mallet to level. most tiles will need mortar on the tile backing and the floor for a strong bond.
Cut Tiles to Fit
Measure and mark tiles for edges and corners. Use a wet saw for clean cuts, other tools consist of a grinder , biting plyers, cutting boards.
Allow Mortar to Cure
Wait 24-48 hours before grouting. Avoid walking on tiles during this time to avoid breaking the bond to the floor.
Apply Grout
Remove spacers. Spread grout diagonally across tiles with a grout float. Wipe excess grout with a damp sponge. do not make the grout to wet when applying. let it set for a few minutes before cleaning on most standard grouts. Do not let epoxy grout sit.
Seal the Grout
After grout dries, apply a sealer to protect against stains and moisture. most grouts come with some kind of built in sealer but all grout lines on the floor will eventually darken.


Comments